


Crafting Corner: Hanging Photo Decorations
Nothing is more comforting than pictures with your best friends and family. Instead of simply taping them to the wall, try making a hanging clothespin photo decoration! It’s the perfect statement piece for any dorm room and is easy to create.
Materials:
Photos (4 x 6), mug, pen, colored paper (optional), scissors, rope or decorative string, Scotch tape, glue stick (optional), mini clothespins, and small Command strips
Directions:
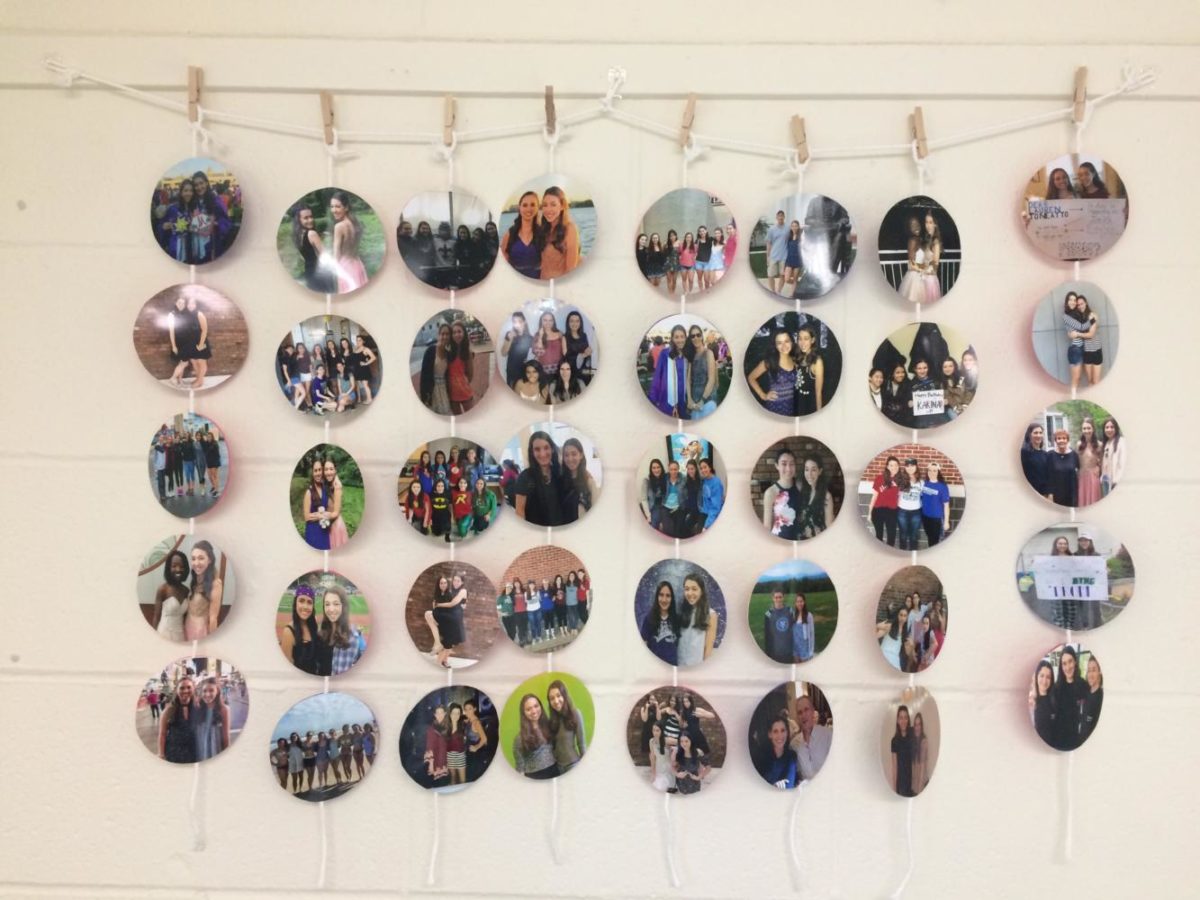
Start by deciding how big you want your decoration to be. It’s helpful to think of where you want it to hang before you begin. I ended up making mine 8 photos by 5 photos. 40 pictures total seems like a lot, but it ended up being the perfect amount to fill up my wall.
Once you’ve printed your photos, it’s time to start tracing. I used the bottom of a mug to make uniform circles. I used a mug that was 4 1/4’’ x 4’’ which maximized the amount of the photo I got to keep vs. cut out. However, any size mug will do. Position the mug around the part of the image you’d like to keep/ hang up, then trace the mug with your pen. This will serve as the guideline for what you will cut. Next, take your scissors and carefully cut on the line, forming your circular images. I used the same technique on colored paper. This is optional but gives an extra flair. Because the images spin slightly once on the rope, I later glued these colored circles to the backs of the photographs.
After cutting out my circles, I plotted out the arrangement I wanted them to hang. My advice if you have multiple pictures with the same friend or family member is to try and spread them out throughout the decoration. However, if you’d like, you can also arrange your order to have each row dedicated to a loved one. It’s up to you and depends on your style and how many photos you’ve printed.
Next, properly space out the images. I recommend each row to be around one hand length (measure from pinky finger to wrist) apart.
It’s now time to cut your rope! Simply measure by making sure it reaches from one end of your picture arrangement to the other. You will need one rope for the top length of the display. This piece will hold the entire display together once complete. The number of height ropes depend on your personal project. For example, I cut 8 pieces because I wanted 8 rows. Also, be sure to cut around one or two hand lengths extra because a loop is going to be made for hanging. I made a loop at the top of each rope by tying a knot.
Now, begin connecting your images onto the string. I used a piece of scotch tape on the back of each photo to attach it to the rope. If you are using the optional colored paper, use a glue stick around the edge of each circle to connect the photo and the paper. Repeat until all images are on the string.
Finally, using the loop on top of each string, pull the vertical ropes, now with your images on them, onto the top, through the horizontal rope. Attach/ keep them from falling using your mini clothespins! I hung the display on my wall using small Command strips.
Viola! A new DIY dorm decoration!