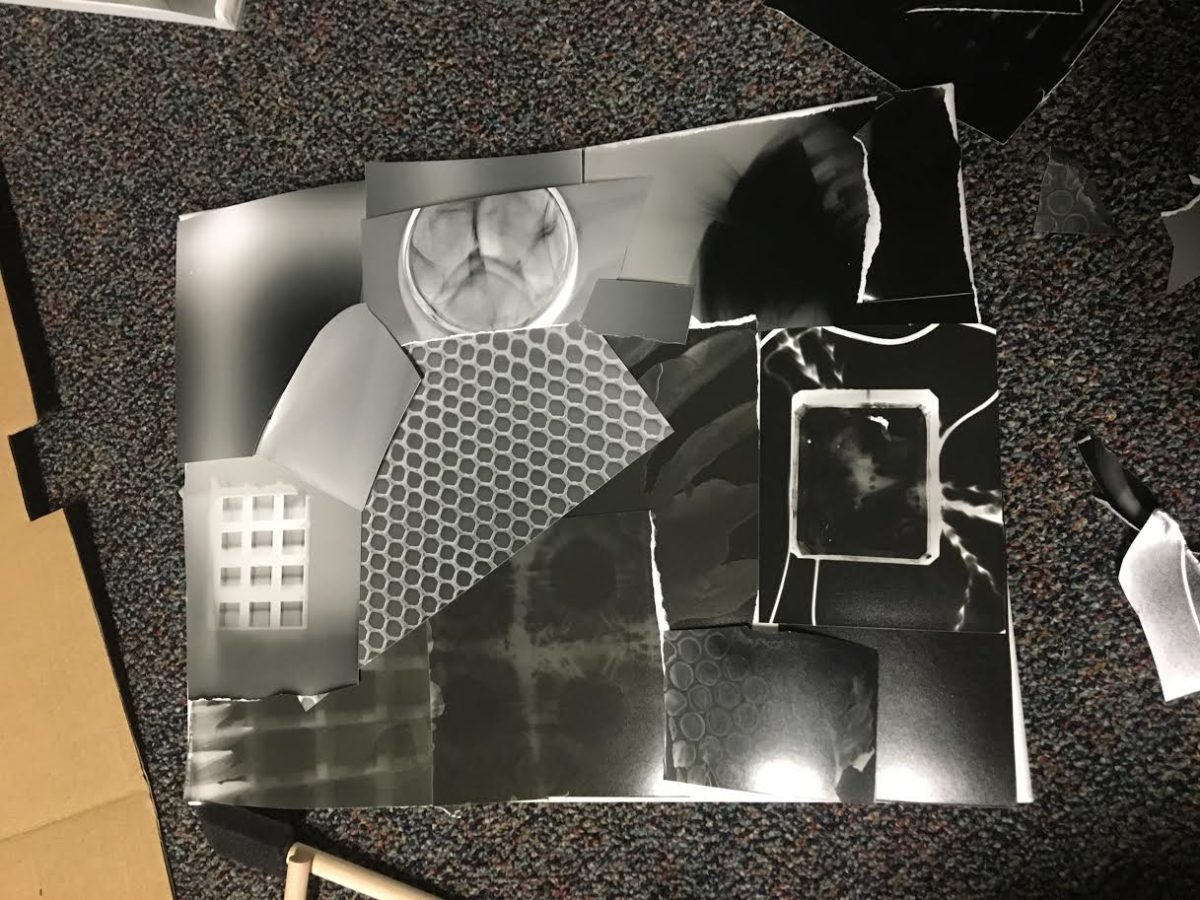
Crafting Corner: Wall Collage
Feeling like your dorm walls are looking a little empty? Looking for an easy art project to do on a Thursday night? Wanting to procrastinate on said Thursday night? Well, you’re in luck—these decorative collages are simple, inexpensive and you don’t have to go far to find the materials. So let’s get started!
Materials: Pictures, canvas, scissors, glue, Mod Podge (a top coat that protects against dirt or damage), and sponge brushes
Step One: Gather your pictures. If you’re going for a certain theme (Black and white? Animals? Favorite bands?), find some pictures that you think would go well together and print them out. Google Images is good for this, or you could take your own photos! For example, the ones I used were taken from the darkroom trash—my roommate liked them and brought them back to our dorm!
Step Two: Arrange your design. Once you have all the pictures you want to include, you can start planning out how you want your canvas to look. It’s basically a collage—you can cut, tear, or place the pictures however you want. Tip: when you’re sure that your design is perfect, take a picture of it so that you can look back at it after you take it apart to start gluing.
Step Three: Glue! Now you can start putting together your collage. I found that gluing works best when you pour it out onto a disposable surface (I used cardboard), painting it evenly on the back of the pictures with the sponge brush, and sticking them onto the canvas.
Step Four: Topcoat. When the glue is dry, you can paint on the topcoat. To ensure that it doesn’t look too streaky, I painted it on vertically, and then horizontally across the canvas.
And you’re done! You can hang your beautiful new art project on the walls of your dorm. (Or you can give it to someone as a present—it’s handmade and comes from the heart, after all!)


