


Crafting Corner: Picture Frame Whiteboard
Looking for an easy, innovative way to jazz up your dorm while also saving money and staying organized? Then this is the DIY for you! A picture frame whiteboard allows you to organize your schedule for the day and incorporate your personal style all for under $10! Bonus: It also takes under five minutes to make!
Materials:
Picture Frame
Printed out design of your choice (Printed on simple computer paper will do the trick!)
White-erase markers
Directions:
Start by removing the glass from your picture frame.
Now, trace the glass rectangle onto your printed design. This is where you can let your creativity run wild! I decided to use a black and white background pattern and colorful white erase markers, but you can pick whatever pattern you like. Maybe pink matches your bedding best? Or perhaps you want an autumn theme, the possibilities are endless! What’s great about this project too is if you decided you don’t like your first pattern, you can just swap it out for another. (It only cost me seven cents to print my design in the library!)
After tracing, cut out the rectangle and put it in the picture frame like you would any photo.
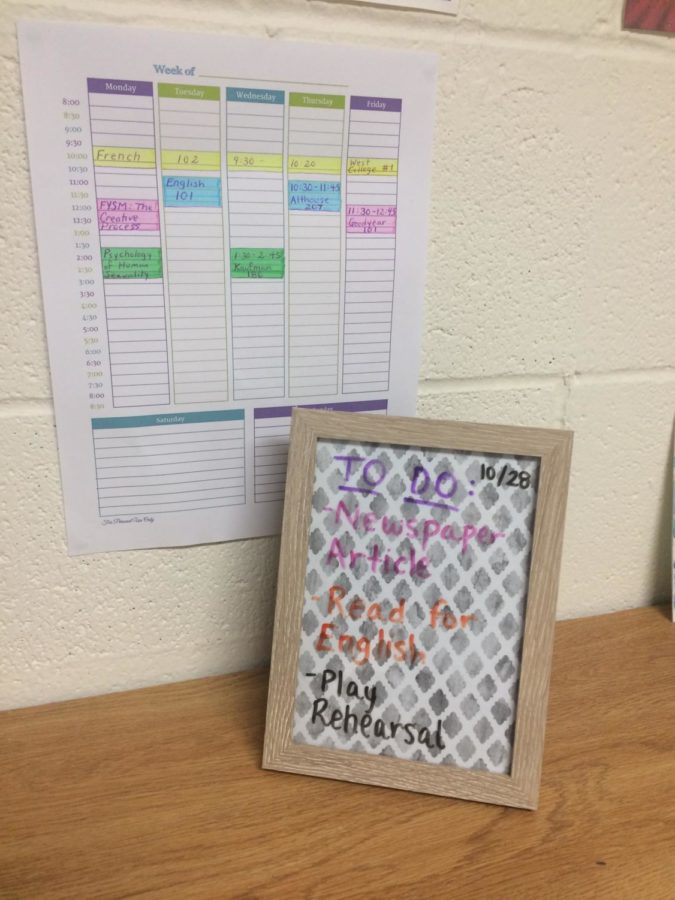
Finally, begin writing on the glass using your white erase markers! It’s the (picture) perfect way to write a “To Do” list or an inspirational quote. The marker also wipes right off with a tissue!
This is a great project to add to your desk or gift as a birthday present. Enjoy!